YLogForms
Approval Steps Based GroupMarch 18th, 2021
Objectives and Steps
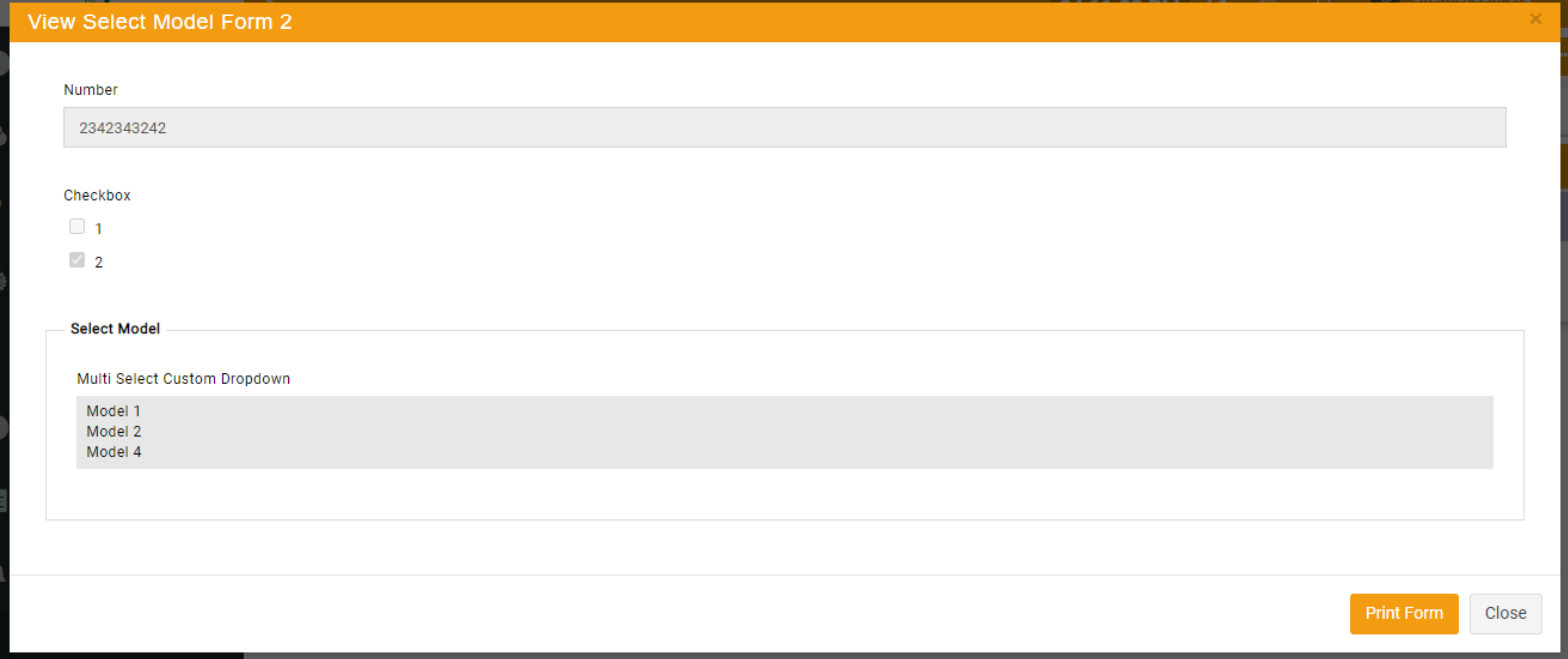
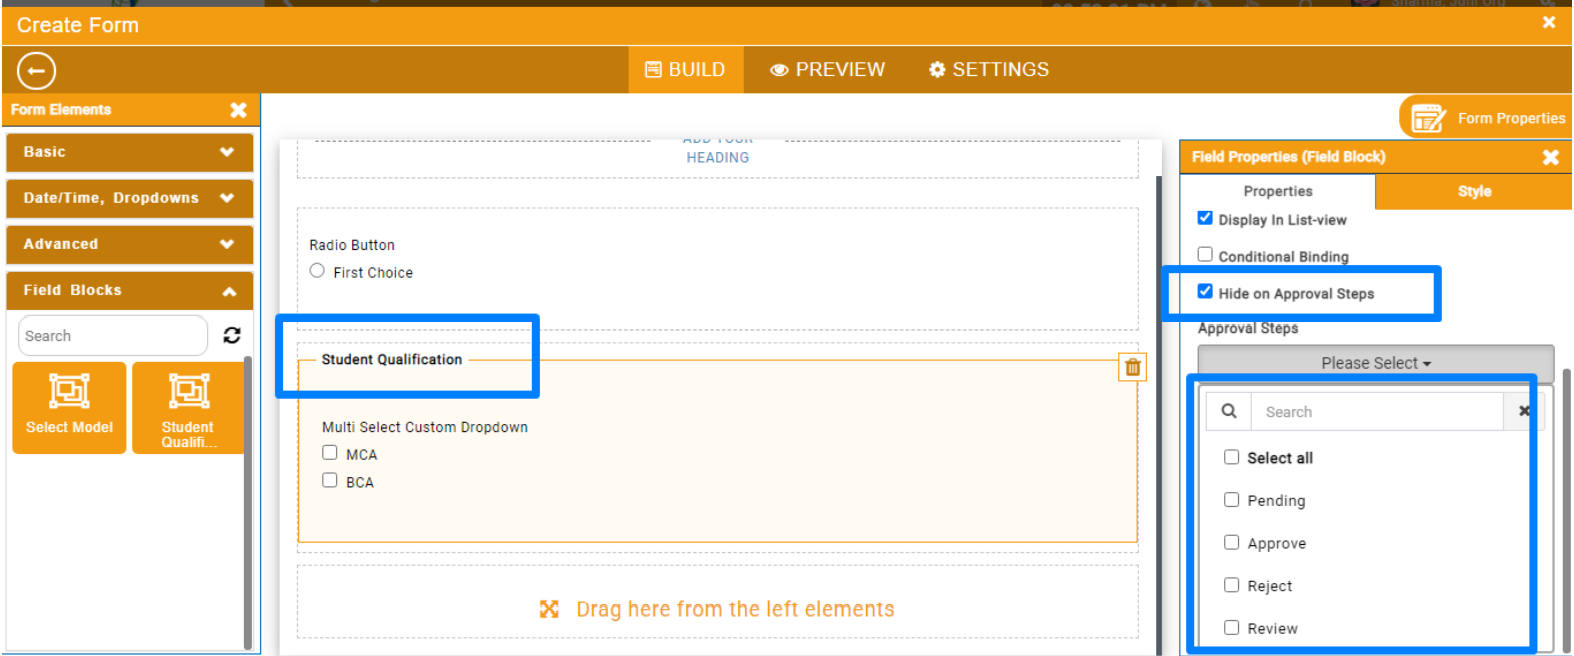
Users can hide the bound option values of form fields (radio buttons / checkbox / custom dropdown / multi select custom dropdown) with the field blocks (groups) in approval form process.
Steps
1. Login to the portal with user who can create the Form Templates
2. Click on the side menu
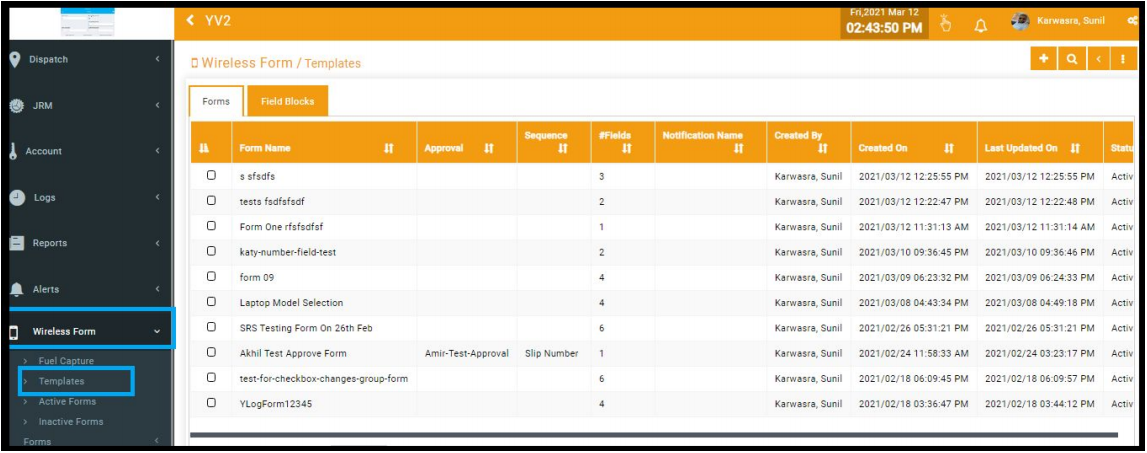
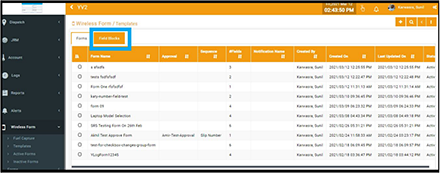
3. Select and click on the menu option - Wireless Forms (Figure 1)
4. Select and click on the sub menu option - Templates (Figure 1)
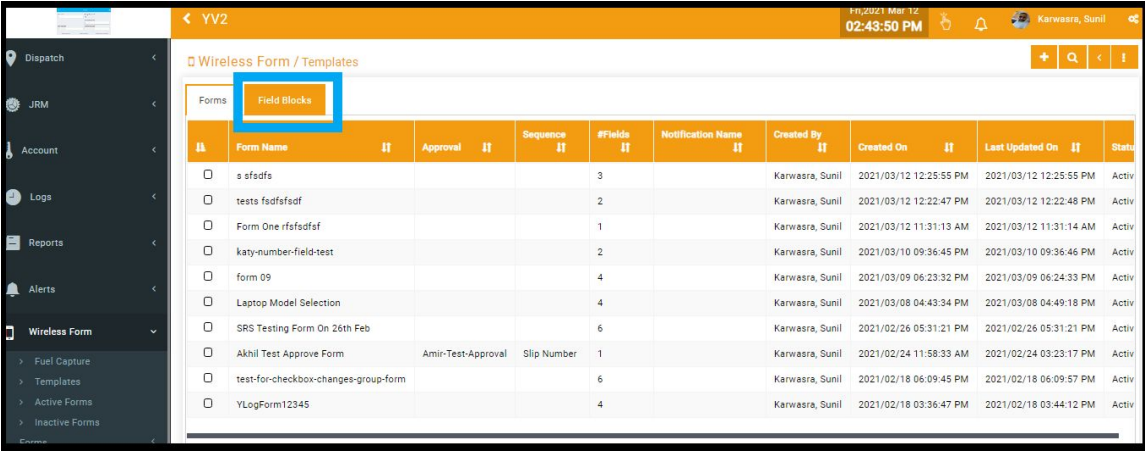
5. Create Groups (if Required) or can use the already created groups from the list (Figure 1.1)
Figure 1
Figure 1.1
Steps to create the approval flow form
Create Forms/Templates
Login to the portal with user who can create the Form Templates
Click on the side menu
Select and click on the menu option - Wireless Forms
Select and click on the sub menu option - Templates(Figure 1)
Create Groups (if Required)
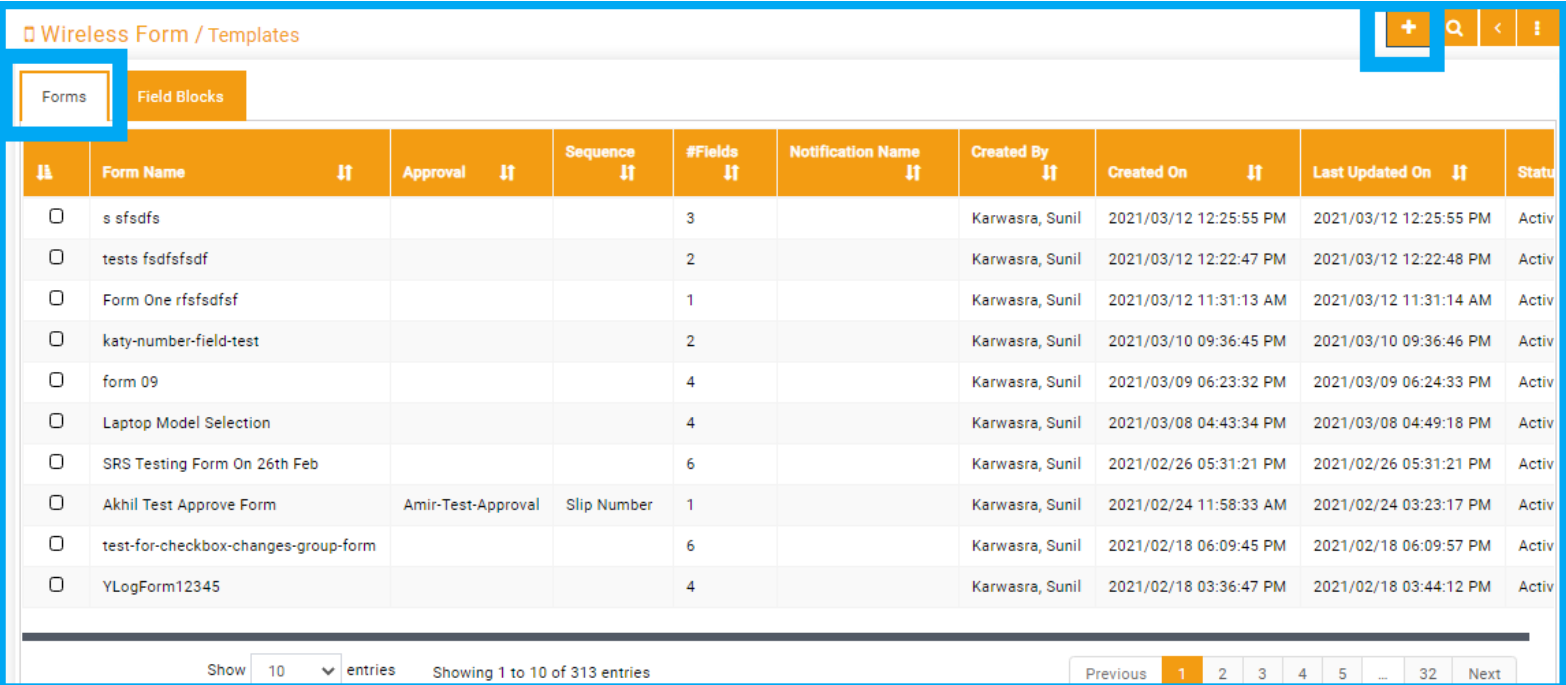
Click on Forms (Figure 3)
Click on Plus icon to add the template (Figure 3)
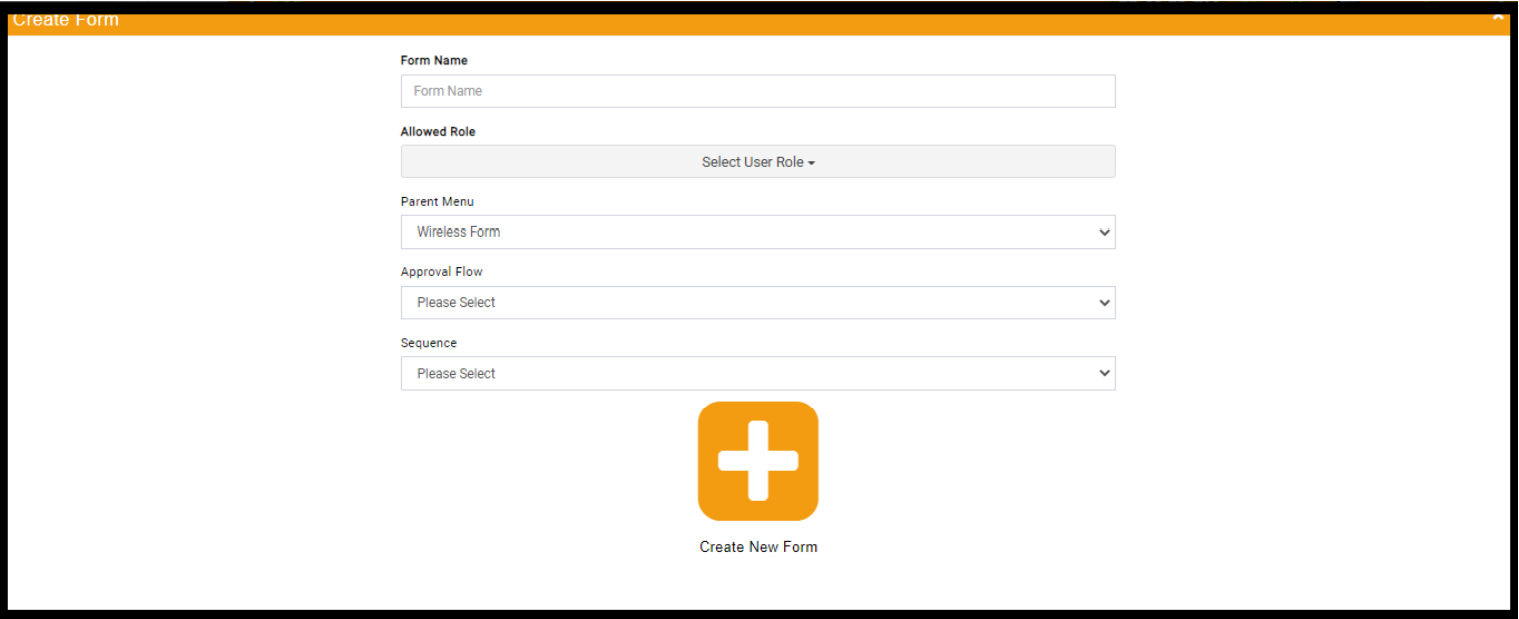
User should have a popup enabled on the screen “Create Form” (Figure 3.1)
• Form Name; Textbox field
• Allowed Role (dropdown list)
• Parent Menu (Under which menu the form template should be added)
• Approval Flow(dropdown list)
• Sequence (dropdown list)
Plus icon button to submit the block name “Create New Form” (Figure 3.1)
Select the Approval Flow from the dropdown list(mandatorily).(Figure 3.1)
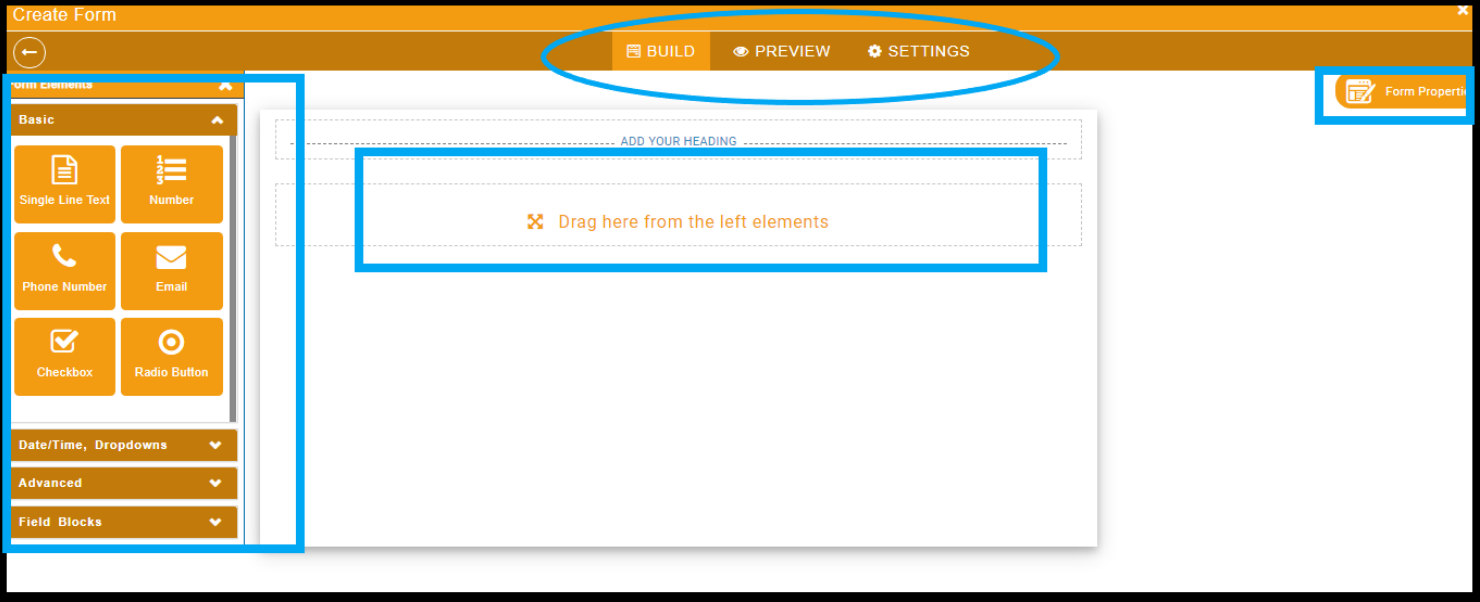
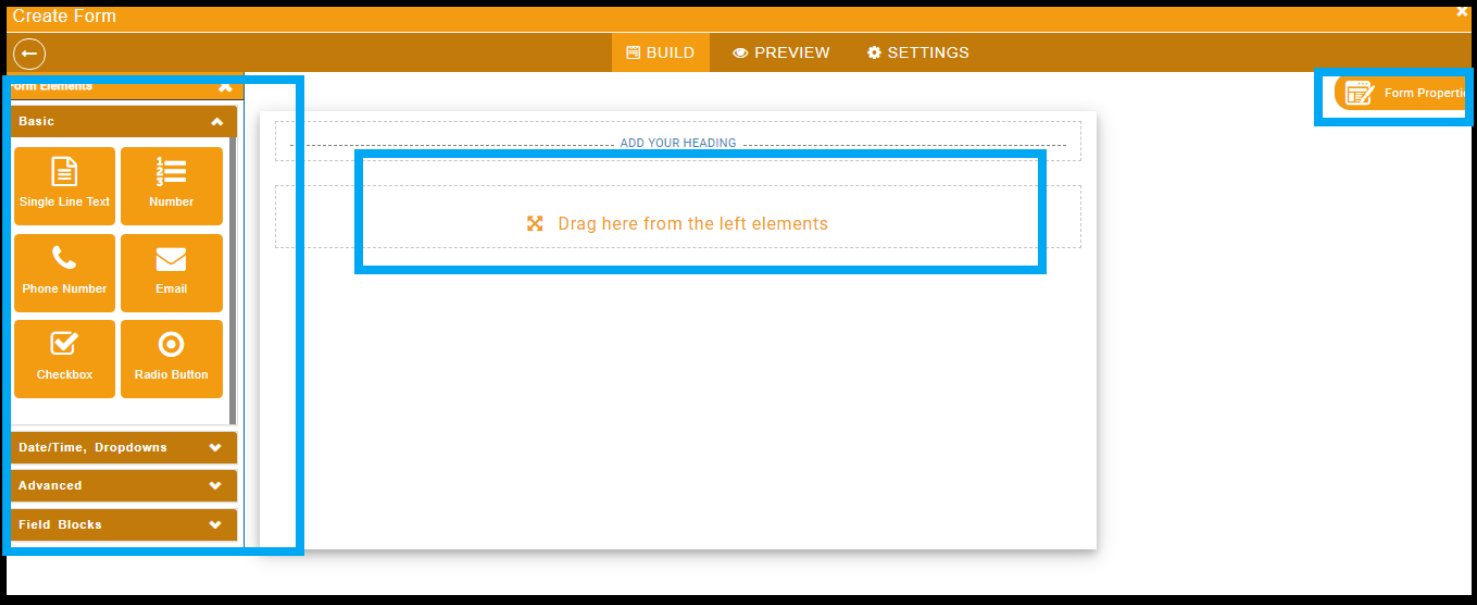
Here then user should be redirected to the next screen on the popup view (Figure 3.2)
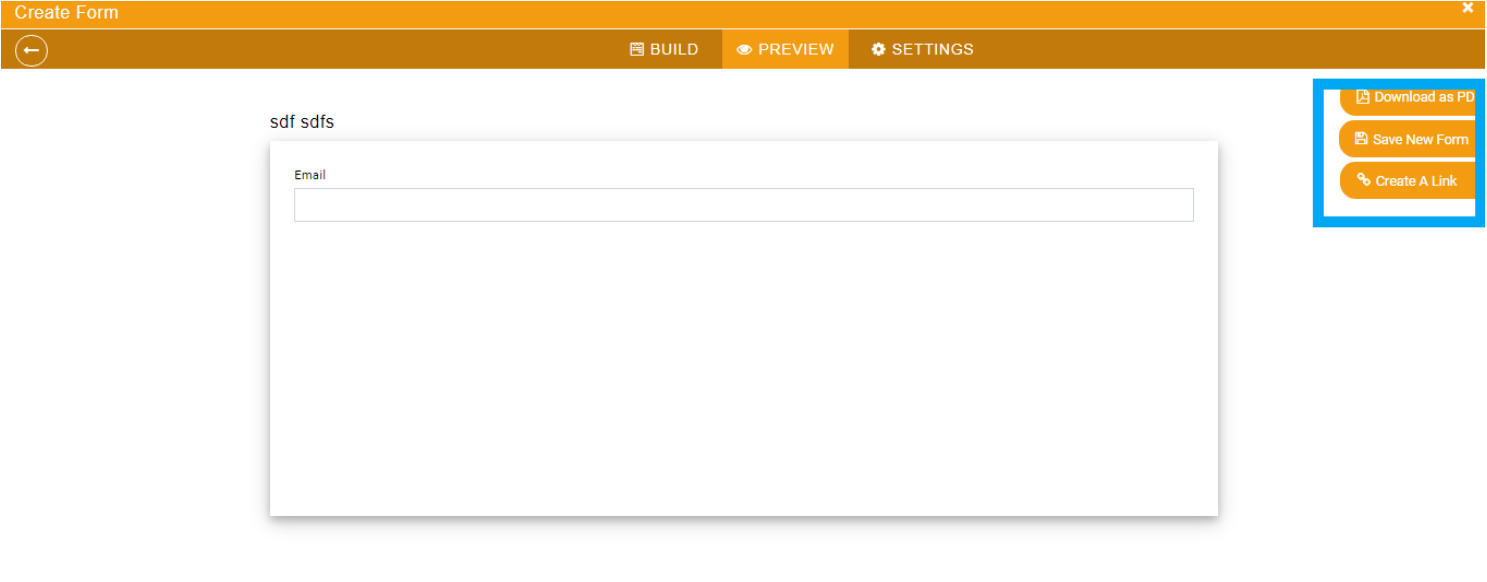
• Build
• Preview
• Settings
• Form Elements
Drag field to the body (Radio Button , Check box , Multiselect dropdown list)
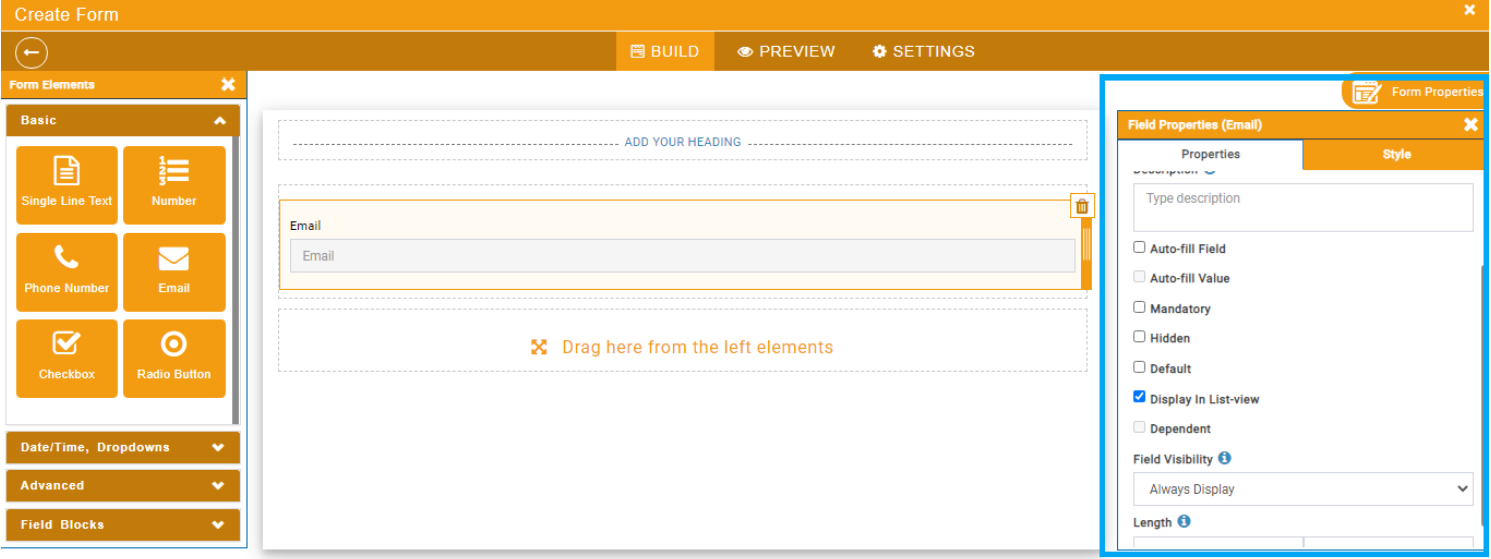
Form Properties as the field has been dragged to the center of the screen on popup
Drag the Block/Group to the body
Select the block/group property “Conditional Binding” (here the user should not be allowed to select the “Hide on Approval Steps”. And vice versa.
Select the Property Hide on Approval Steps
Here the user should have the list of approval steps (“Approve/Reject/ Review”) - select the approval step on which the user wants to hide the block/group.(Figure 3.5)
Select the form properties and Style (Figure 3.3 and Figure 3.4)
Click on Preview to save and complete the block to be saved in the Form list.
Click on the SAVE button (Figure 3.6)
The form should get added in the list of forms
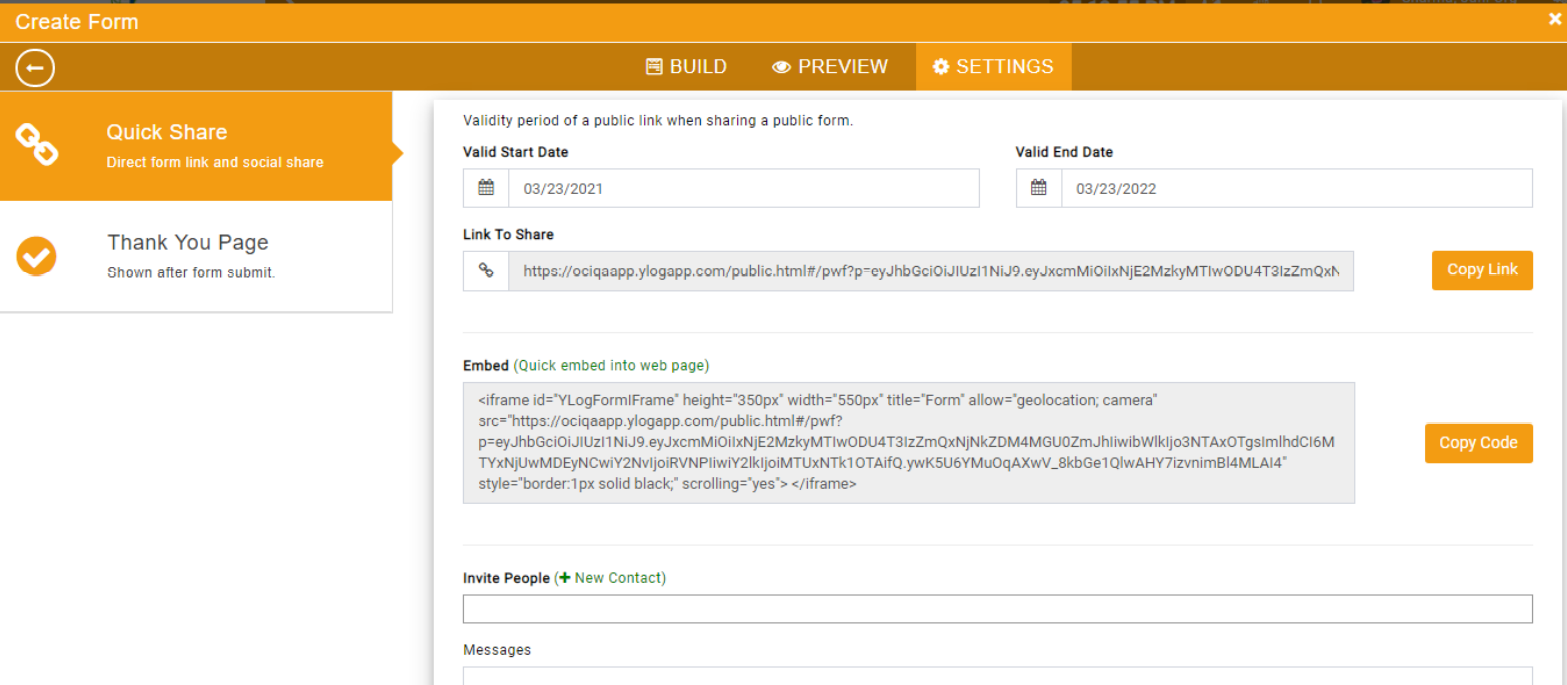
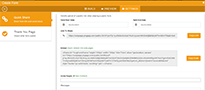
Then user should be redirected to the Settings tab
• Quick Share (Figure 3.7)
• Here user can created the public link
• Here user can create the embedded link
• Here users can share the form to the specific contacts by inviting the same after selecting the contact from the list.
• Thank You Page (Figure 3.7)
• Here users can create the thank you page or settings that should be performed after form submission
Figure 3
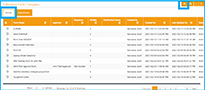
Figure 3.1
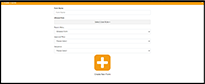
Figure 3.2
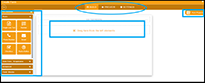
Figure 3.3

Figure 3.4
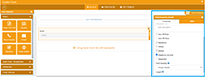
Figure 3.5
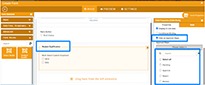
Figure 3.6

Figure 3.7
Add Form/ Edit Form/ View Form
From Portal
• Select the form from side menu under which parent menu the form has been created
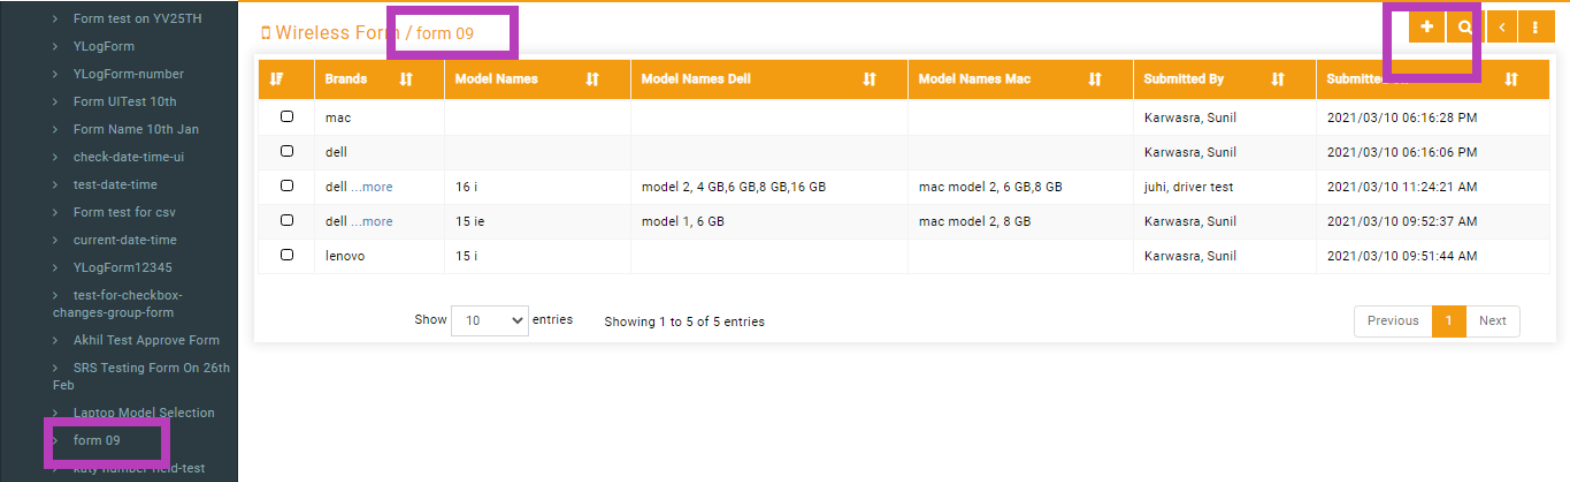
• Fill in the form fields
• Submit the form and the form will be added in the list.
• Here if the user has selected the hide settings in template on Pending/ Approve/ Reject/ Review state; then the block will not be visible when the form is in respective state after submission.
Figure 5.1