YLogForms
Roles Permissions & Synchronization23rd JAN 2023
YLogForms is a platform to help use of wireless forms with custom features.

Objectives and Steps
Login to the portal with a user who can add/edit the roles.
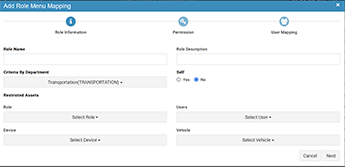
• Go to Settings.Select Roles
• Click on + icon to add a new custom role.
• Give a Role Name and Role Description
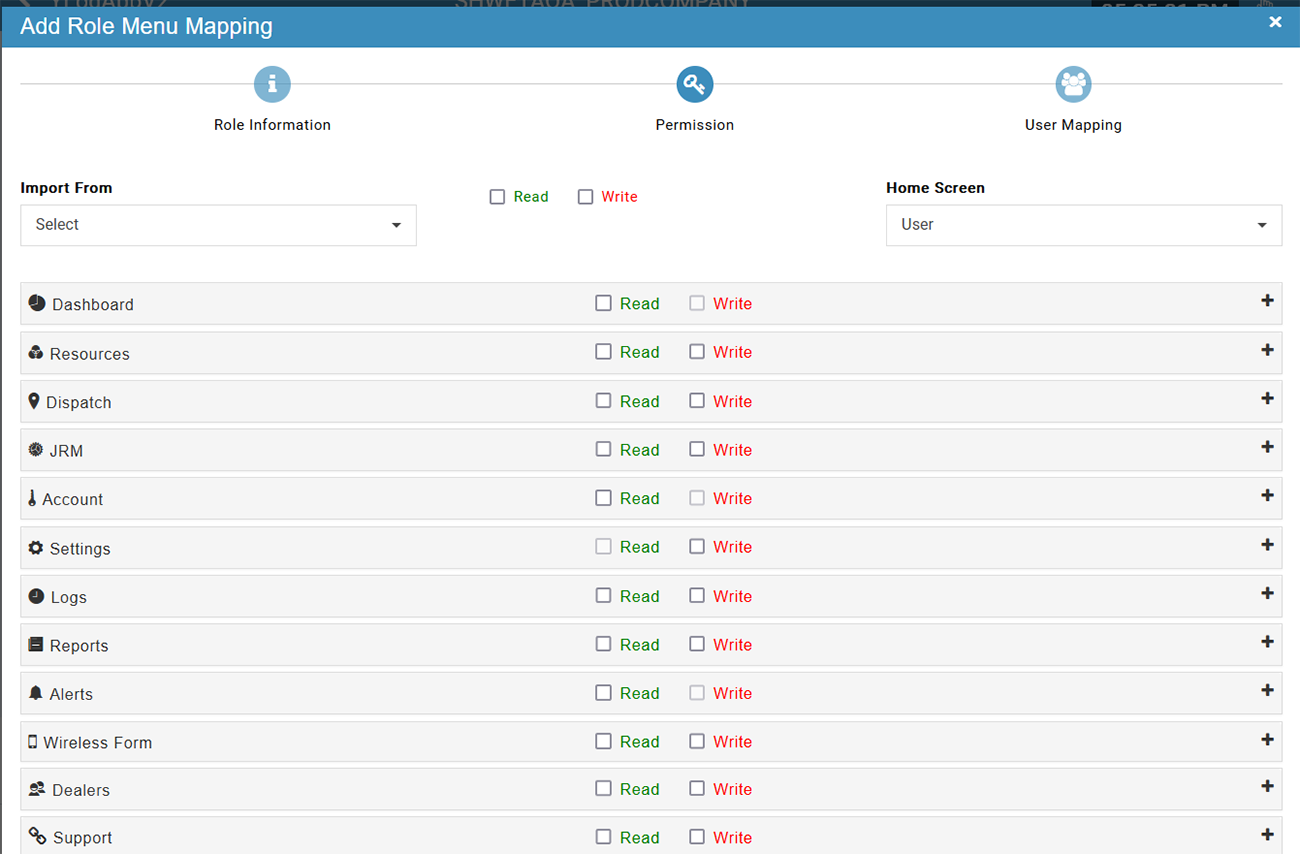
• Click on Next.Navigated to Permission screen.
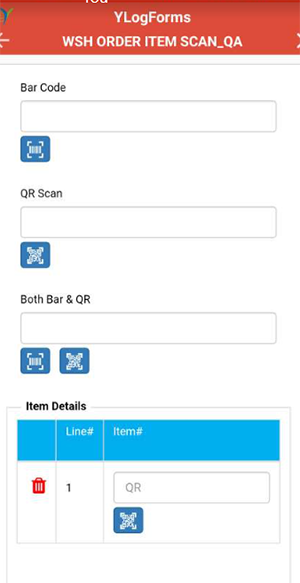
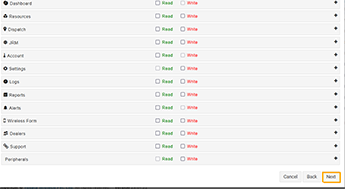
• Expand the Wireless Form Menu.
• Select Forms and expand it.
• Choose the Form Name.Expand it.
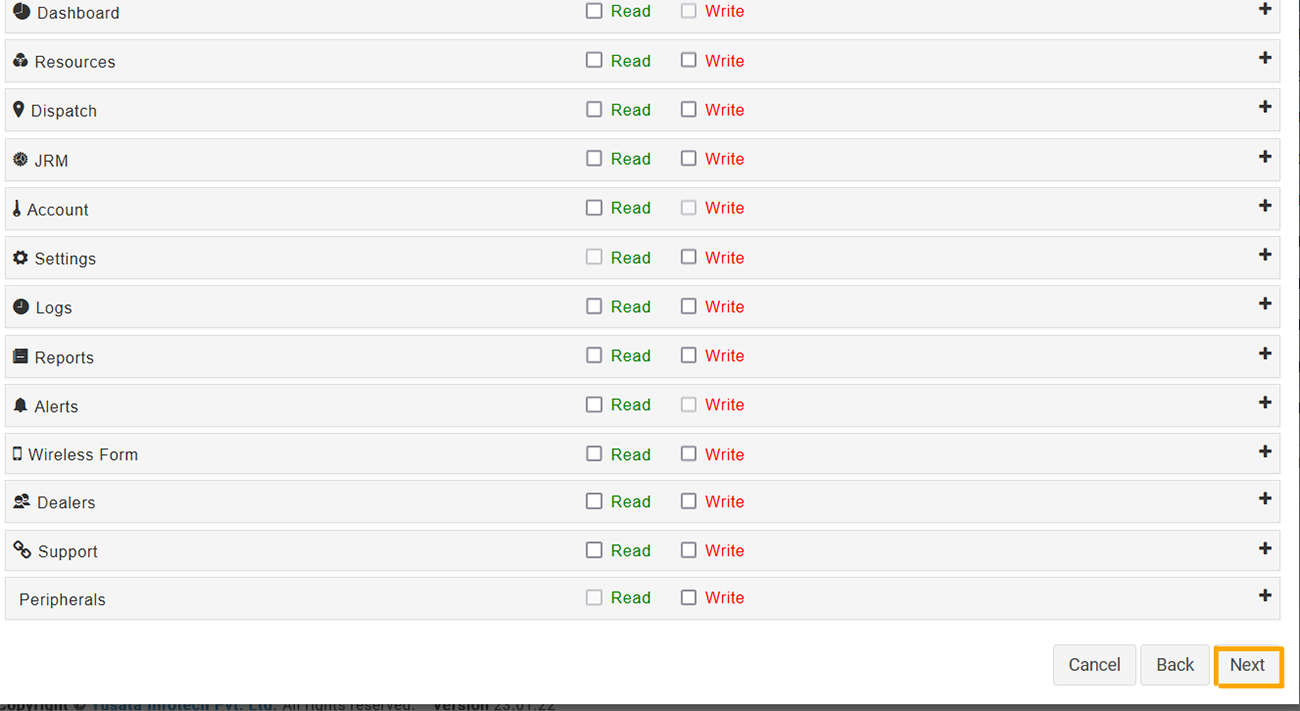
• Check and uncheck the Read and Write permissions for Add,Inactive,Export,Edit,Datatable,View,File Upload
• Click on Next.
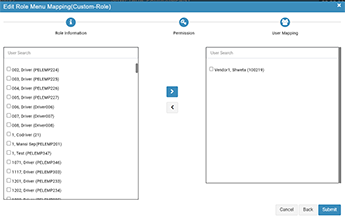
• On User Mapping screen,select the desired user from LHS to RHS
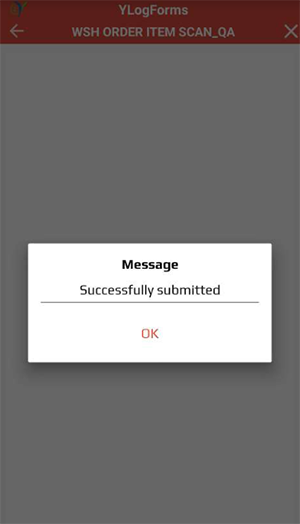
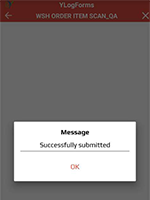
• Click on Submit
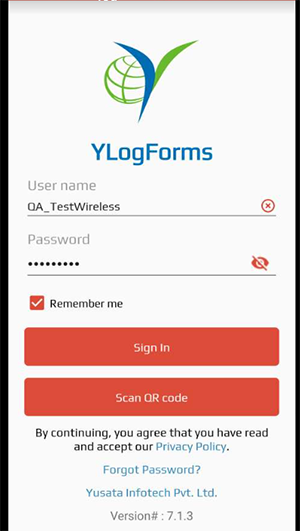
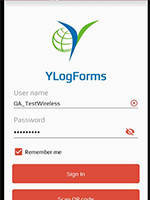
• Login to YLogForms with the user with custom role
• Users with Custom Role have access to selected menus.
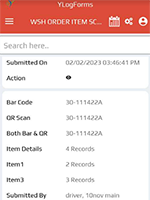
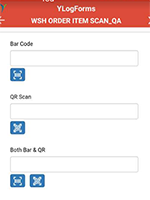
• Go to Wireless Form and under Forms select the above modified WF
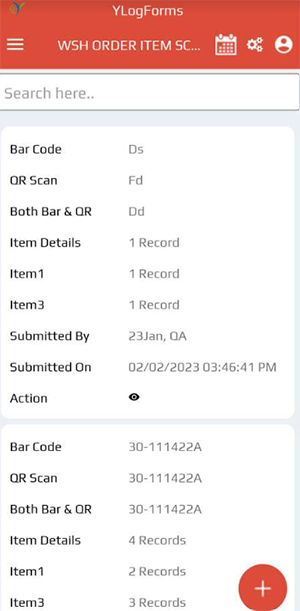
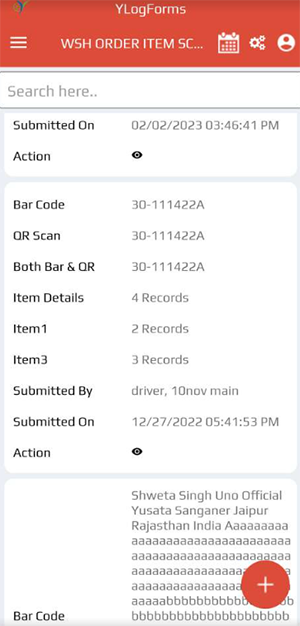
• Selected options/icons should be displayed for that particular form.
• Users with a custom role should be able to see this WF with already selected options/icons.
• There should be sync between Portal and YLogApp w.r.t the permissions selected for WF and when the user with custom role login to YLogApp.
Add Role
Update Permissions

Change Preferences

Next Button
Submit Button
Login Screen
Selected WF
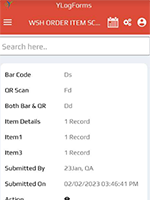
Submitted WF
Disabled Edit and Delete Icons.
Only View Icon Available